Showing posts with label scrapbooking. Show all posts
Showing posts with label scrapbooking. Show all posts
Wednesday, April 25, 2018


Thursday, April 19, 2018
Friday, September 29, 2017
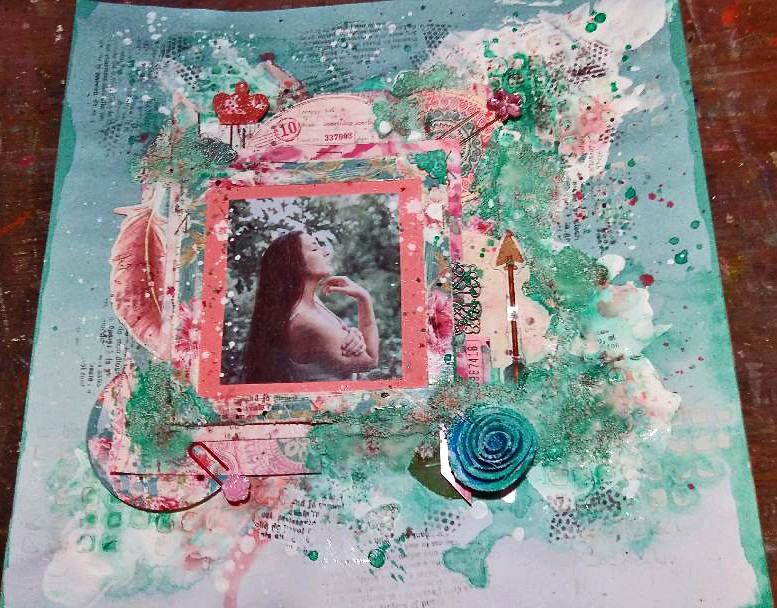
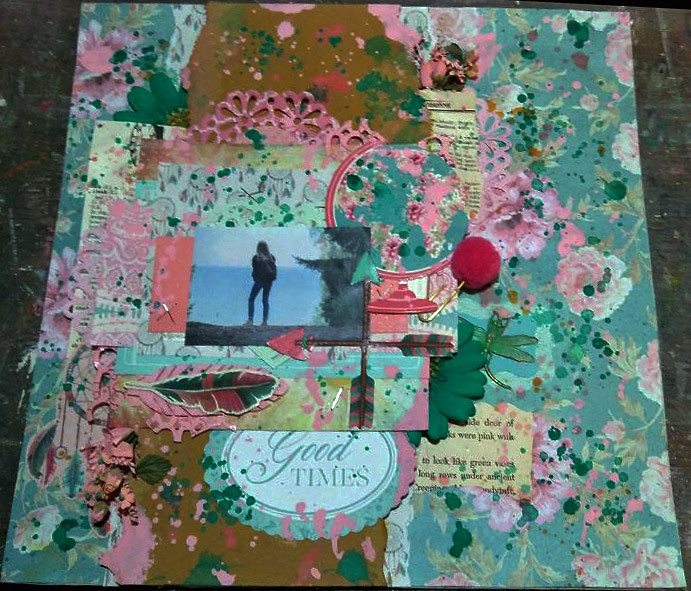
"Time To Play" Scrapbooking Page
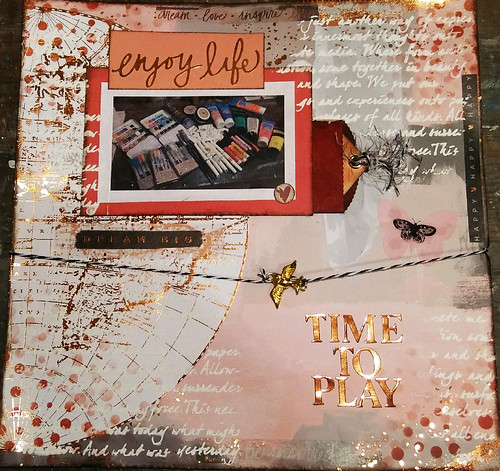
A Scrapbooking Page I made. I used a scrapbook kit I purchased at Hobby Lobby. Background is stenciled with molding paste. The picture is of my Art Supplies laid out on my desk I was getting ready to play with.
Wednesday, September 27, 2017
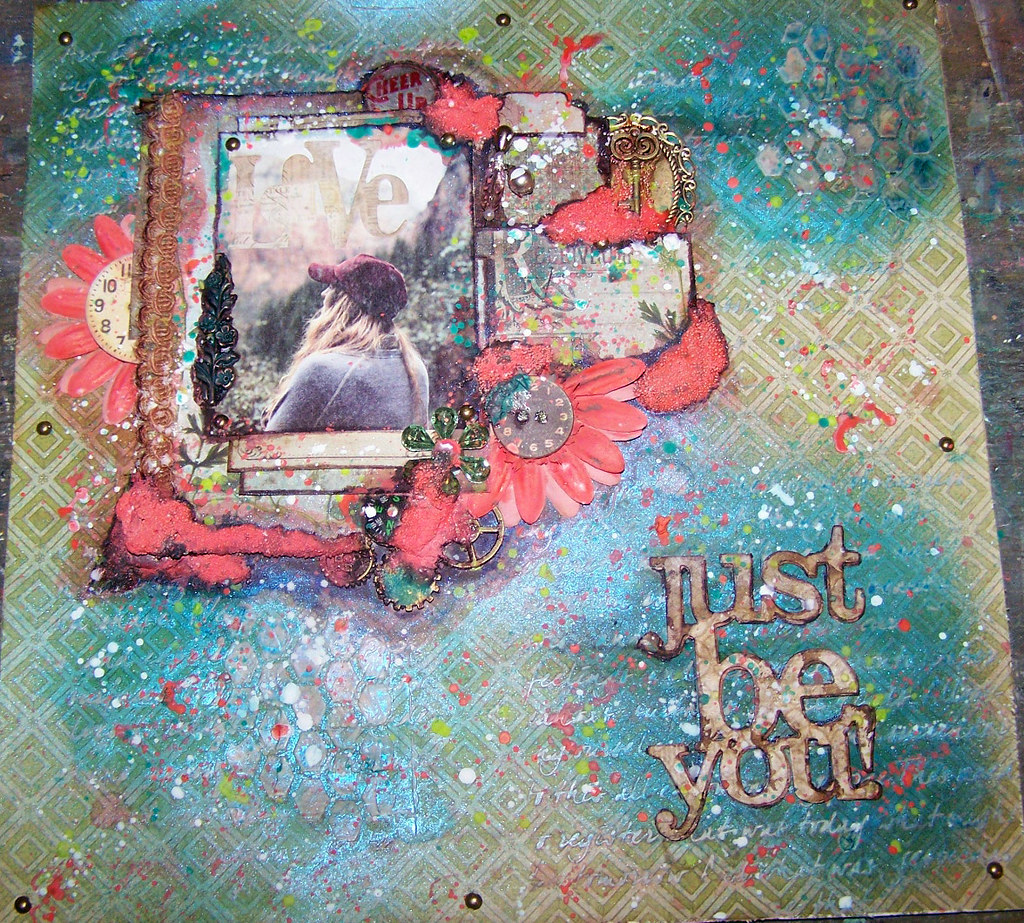
Scrapbooking Page Titled "Create"
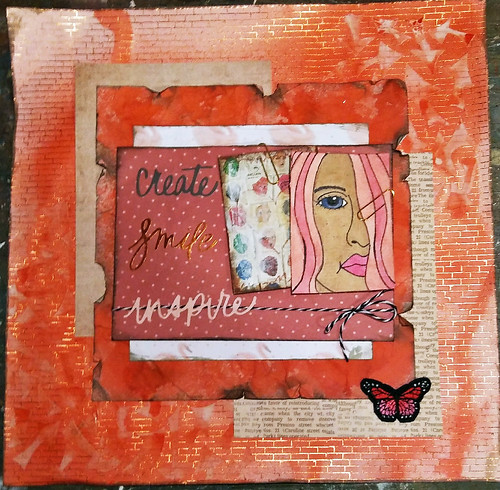
This is a scrapbooking page I made called "Create." It has featured some of my artwork on the cards in the center of the page. I made this from a scrapbooking kit I purchased at Hobby Lobby. The background has been stenciled with molding paste and then sprayed with Tim Holtz Distress Sprays to give it a painted look.
Saturday, March 27, 2010
Mini Book Words of Life


I hope you all are having lots of fun creating!
Blessings and love to you,
Tonya
Monday, March 22, 2010

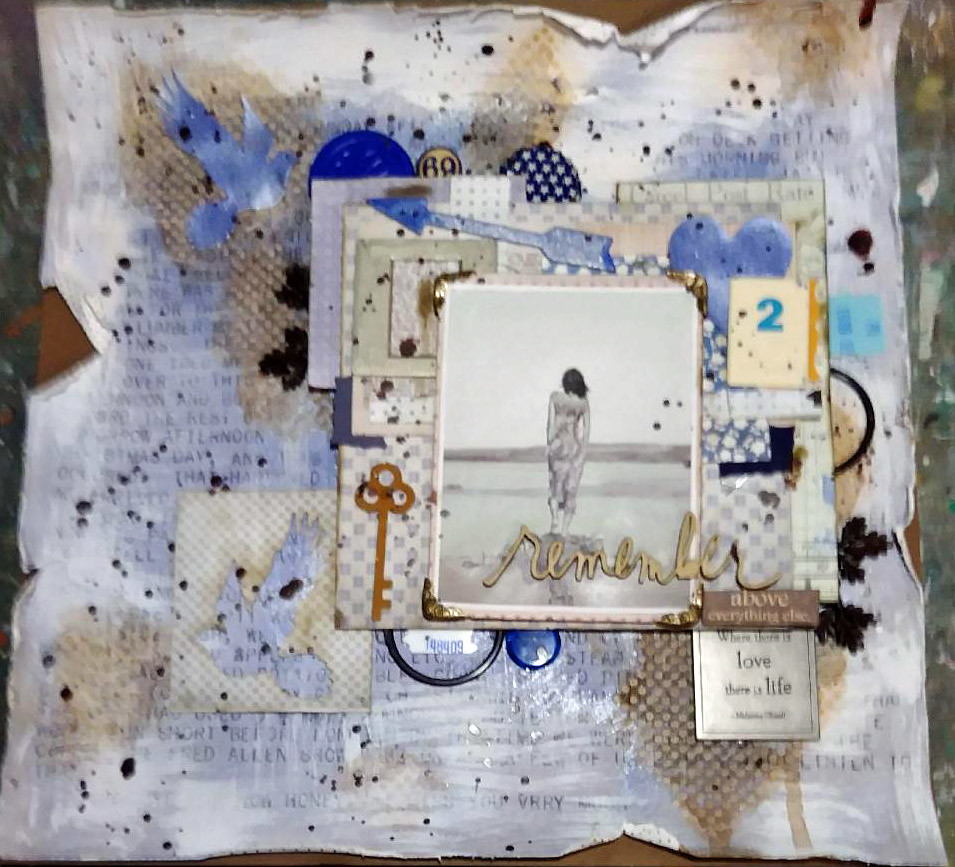
These little birds nested on my porch last spring; I just could not resist scrapping them. Aren't they adorable!?
I made this scrapbook page using the Kenner Road Skylark Feb. Kit. You may visit Kenner Road by clicking here.
Picture taken by my beloved Dad, Larry Ashe
Blessings to you all and have fun creating!
Thursday, March 18, 2010
You Are Lovely
I made this card using the Kenner Road Skylark Feb. Kit. You may visit Kenner Road by clicking here. They have some of the best monthly kits.
Blessings to you all and have fun creating!

Blessings to you all and have fun creating!
Wednesday, March 3, 2010
Don't Forget Who You Are


I Am Love!
This book was a work of my heart. A collection of feelings and thoughts are poured out on each page.


Journaling One:
I shine and radiate from within
Intense passion within my soul
Passionately I breathe...
Purely I live and love
With the substance of my entire being...
I shall fly...
Journaling Two:
Beauty lives in a heart that gives and loves
beyond a shadow of a doubt...
with no regrets...
no second thoughts...
just boundless and endless love...
You may see larger views of each the pages by going to my Flickr pages here.
I used the Bad Girls Kit "Ma Petit Maison" You can visit the Bad Girls site by clicking here.
All Writing and Art by ©Tonya Ashe
Tuesday, October 13, 2009
Get Over It!


Don't fret over stuff, just be yourself. Create what you want and don't worry so much about what people think. After all...everyone else isn't living your life, you are. Enjoy It!
I decided to play along the the girls at "Point Blank Period" this month. The prompt was "Get Over It". So I decided I would do a mini book with the idea. I will be filling the little pockets in this journal with pages of writings of things that I just want to vent about or just get over. Each page has at least one pocket on it, so I can tuck them full of stuff.
I also made another little storage book similar to this one. You may view it by clicking here. Thanks for looking. I hope you all are having fun creating.
All Writing and Art by ©Tonya Ashe
Sunday, August 9, 2009
A Book for Storage
I am still making stuff to store my supplies in. This time it is a book. I made the pages so they have pockets to slide stuff into for safe keeping. I haven't decided yet what all I will be keeping in it. As you can see in the pictures, I have many ideas; cards, scraps, paper, pictures, findings, fabric scraps, etc.
I made the book out of an old vintage book I found. The book was already falling apart so I decided to recycle it.
Also used the VP August Kit.


I made the book out of an old vintage book I found. The book was already falling apart so I decided to recycle it.
Also used the VP August Kit.
Thursday, August 6, 2009
My Hero Book
This book was made to celebrate my Hero and Beloved, Jesus Christ. He is my King! I love Him so much! ;)
I made the book with the Kenner Road Mister Kit that I won from one of their recent giveaways. You can view more information about the details on each page by going to my Flickr Gallery.


I made the book with the Kenner Road Mister Kit that I won from one of their recent giveaways. You can view more information about the details on each page by going to my Flickr Gallery.
Wednesday, July 29, 2009
A Friend
A peek into the mini book on my recent art journal book page
All writing/quotes are ©Tonya Ashe

All writing/quotes are ©Tonya Ashe
Tuesday, July 14, 2009
Recipe book
More pics of my recipe book. I think I may want a cupcake now. Me getting hungry justing posting this update about it.

Wednesday, June 3, 2009

Stick Birdie Tutorial
This is a quick tutorial on how to make the stick birdies you can see on my page titled “Simple The Best”.
Keep in mind that you can use other shapes to make these with, like circles, stars, hearts, like so.
Any template or shape should work. You can also find the bird templates in the freebies section of my Flickr pages. However any bird template should work if you already have one.
Step One: Cut out the bird templates.
Step Two: Find the desired papers you wish to use. Scraps are great for this and usually the perfect size.
Step Three: Use a removable/temporary glue to stick the template over the paper.
Step Four: Carefully tear around the edges, keeping the shape of the bird template. When you are satisfied with the results, remove the template from the patterned paper.
Step Five: If you have a paper distresser, use it to distress the edges a bit. If you don’t have an edge distresser, then just use your finger nail or the pop stick to rub and push around the edges. You may also want to lightly push the edges forward to get the exact look I achieved with mine.
Step Six: Take an ink pad and rub it gently across the edges you distressed.
Step Seven: Glue permanently onto the sticks. Note: I did not want my sticks all the same size, so I broke part of the tops off before attaching the birds.
Step Eight: Add stickers or other décor until you get your desired look.
Have fun creating!
For personal use only!

Keep in mind that you can use other shapes to make these with, like circles, stars, hearts, like so.
Any template or shape should work. You can also find the bird templates in the freebies section of my Flickr pages. However any bird template should work if you already have one.
Step One: Cut out the bird templates.
Step Two: Find the desired papers you wish to use. Scraps are great for this and usually the perfect size.
Step Three: Use a removable/temporary glue to stick the template over the paper.
Step Four: Carefully tear around the edges, keeping the shape of the bird template. When you are satisfied with the results, remove the template from the patterned paper.
Step Five: If you have a paper distresser, use it to distress the edges a bit. If you don’t have an edge distresser, then just use your finger nail or the pop stick to rub and push around the edges. You may also want to lightly push the edges forward to get the exact look I achieved with mine.
Step Six: Take an ink pad and rub it gently across the edges you distressed.
Step Seven: Glue permanently onto the sticks. Note: I did not want my sticks all the same size, so I broke part of the tops off before attaching the birds.
Step Eight: Add stickers or other décor until you get your desired look.
Have fun creating!
For personal use only!
Thursday, May 28, 2009

Subscribe to:
Posts (Atom)